Approach
How a job runs
Every job starts the same way: we understand your project before we price it. Photographs, drawings and a conversation are often enough; where the building needs a survey, we come and look. This is the run of a HOLVEM project, from the first photographs to the documents you keep at the end.
- Six stages
- Photographs are enough to begin
- A firm price needs the building
01The run
Six stages, and the building leads every one of them.
If you already know the U-value or thickness you need, we price to it and confirm it is the right specification for the building. If you do not, we work it out with you. Either way, you bring the building and what is bothering you about it; we bring the rest, in this order.
-
Stage 01
The brief, or a few photographs
Tell us what you know: the building, what it is used for, and what it is doing that it should not. Photographs from the floor are welcome, drawings are a bonus, and if something is uncertain, say so. If you would rather send pictures first and talk later, that works too.

About five minutes. Photographs help; nothing else is needed. -
Stage 02
We understand the project
Often the photographs and drawings tell us enough, and a conversation covers the rest. Where the building needs it, we come and survey: the roof from beneath, the places where warm air meets the cold sheet, the fixings and the rooflights, what is stored under it and how the floor works through the day. We want to know what the building does, not only what it is made of.
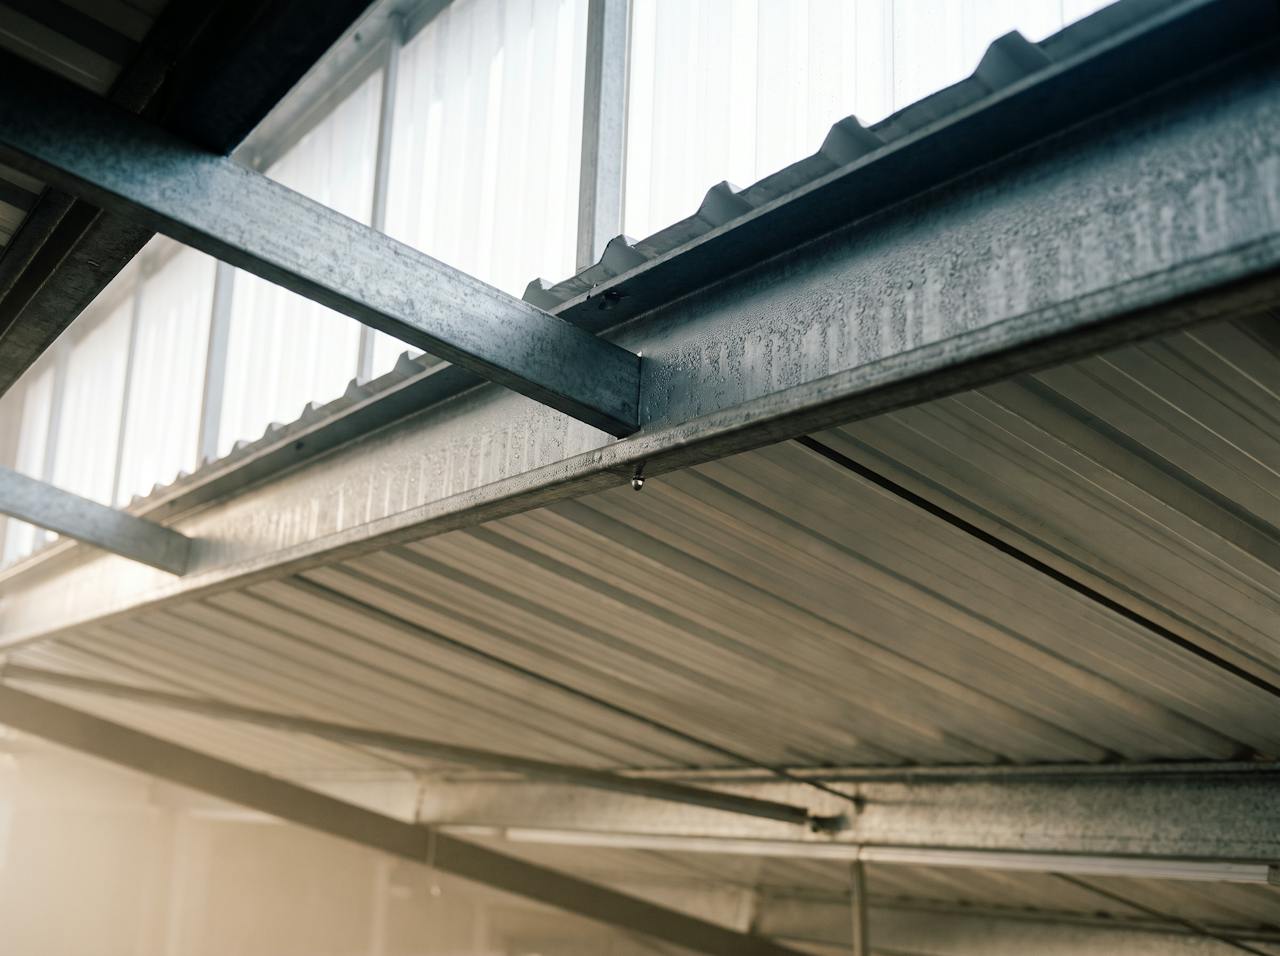
What we look for. Where the warm air reaches the cold steel, and what sits beneath it. From photographs, or on site when the building needs it. -
Stage 03
We specify: the roof is calculated before it is sprayed
A U-value calculation to BS EN ISO 6946 tells us what the finished roof will achieve, timber bridges and corrections included. A condensation risk analysis to BS EN ISO 13788 tells us where water would form and whether it clears within the year.
Where the simple method is inconclusive, we run a WUFI hygrothermal simulation to BS EN 15026 with ten years of real hourly weather, rather than ignoring the flag or over-specifying to be safe. If you already have a target U-value or a thickness, we check it against the building and confirm it, or tell you where it needs to change.
Worked exampleA metal standing-seam flat roof, South East England- U-value of the finished roofBS EN ISO 6946. The whole roof's figure, bridges included, not the foam's own conductivity.0.14W/m²K
- Surface condensation and mouldBS EN ISO 13788. The temperature factor at the inner surface against the critical value.0.970fRsi · pass
- Water in the roof over ten yearsWUFI Pro, BS EN 15026. The assembly dries year on year; nothing accumulates.2.19 to 1.34kg/m²
Figures from one real HOLVEM specification, with the site kept private.
-
Stage 04
A firm price
Our rates are published in the cost guide, so you know where you stand before we have met. The one thing a firm price needs is the building itself: its area, its condition and what you want the roof to do decide the depth, and the depth decides the figure. Once we understand it, the price is firm.
What decides the price
- 01The area. The rate per m² falls as the area rises.
- 02The objective. Condensation control, heat retention, a U-value target or a reaction-to-fire classification decides the depth and the system.
- 03The building. Its condition, access and what is under the roof decide the preparation and the programme.
Published FROM rates, and a firm price once we understand the building.
-
Stage 05
The installation, from beneath
The building is protected first: masking, sheeting, stock and plant covered. Then closed-cell foam is applied to the underside of the roof in continuous passes, following its profile and wrapping the purlins. The roof stays in place and stays weathertight throughout; nothing is opened up from above. The work is planned around the building in use, bay by bay.
Project recordRoof underside Roof underside sprayed in continuous passesReal installation footage. Closed cell, from below. -
Stage 06
The documents you keep
You keep a file, not only a finished roof: the specification the work was applied to, the calculations behind it, and the evidence from the installation. The building file answers the surveyor's question before it is asked, whether that surveyor arrives next year or when the building changes hands.
Handed over with the roof
- The written specification the work was applied to.
- The U-value calculation for the finished roof.
- The condensation risk analysis, and the WUFI report where one was run.
- The completion pack from the installation: depth checks, finish inspection and the record of the work.
Not sure which stage you are at? Send what you have and we will tell you.Upload photographs or drawings